Floating Shelf Decor Ideas That Don’t Look Cluttered
I installed floating shelves in my living room three years ago with so much excitement. Finally, a place to display all my pretty things. Within a week, they looked like a garage sale. Too many small objects. No breathing room. Everything was the same height. I stood back, looked at the chaos, and took everything down.
It took me three attempts to get floating shelves right. Now those same shelves are the most complimented feature in my home. Today I am sharing the nine rules that transformed my shelves from cluttered to curated.
Why Floating Shelves Go Wrong
The problem with floating shelves is they are too accessible. You can put anything on them. So you do. And then they become a visual dumping ground. The solution is not buying nicer things. It is having rules for what gets displayed and how.
Most advice tells you to add more. More plants, more books, more decorative objects. But the real secret to beautiful shelves is restraint. Knowing what to leave off is more important than knowing what to put on.
My 9 Rules for Clutter Free Shelves
Rule 1. Less Is More Than You Think
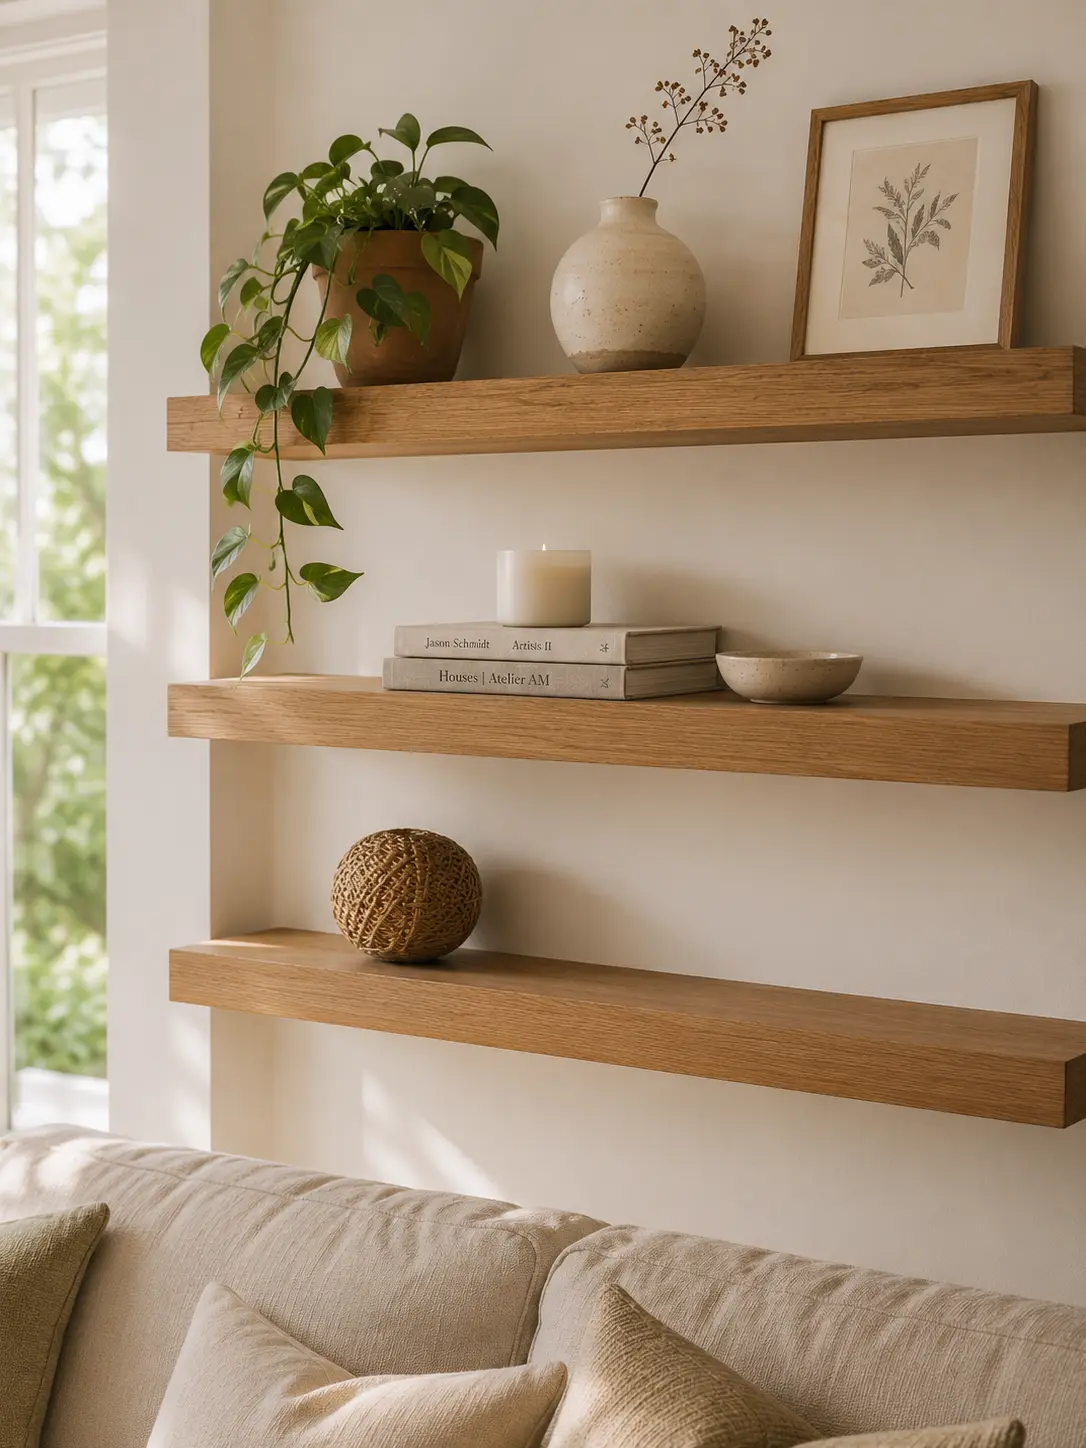
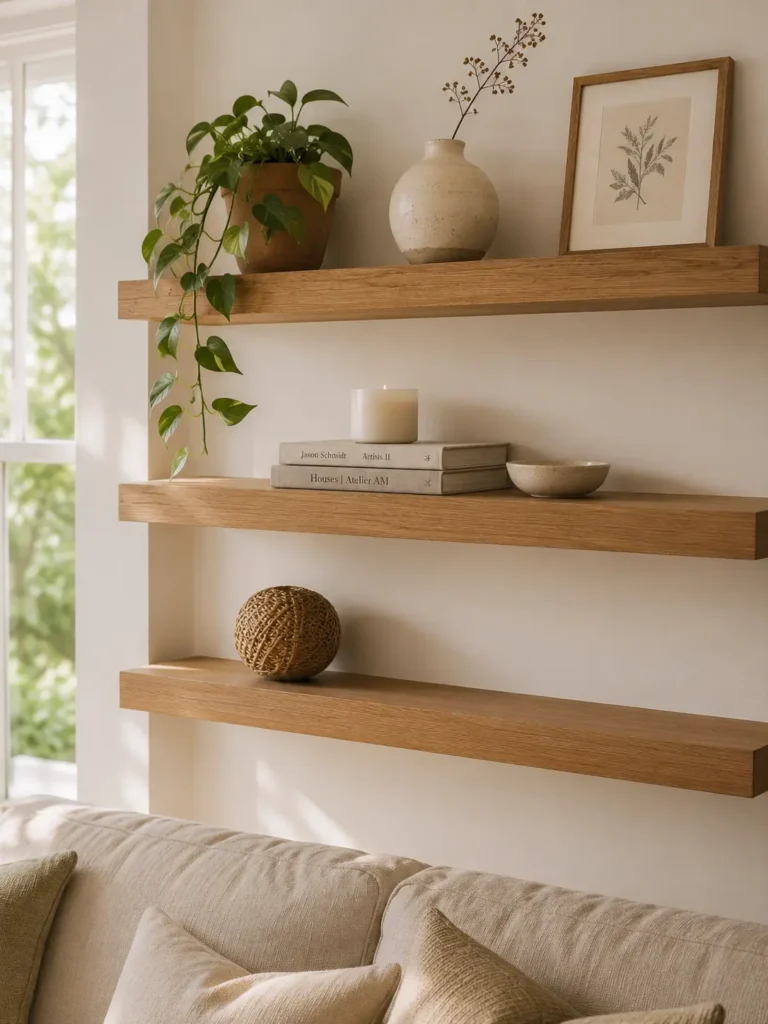
For a standard four foot shelf, aim for three to five objects total. Not three groupings. Three objects. I know it sounds extreme but try it. The shelf immediately breathes.
When I first heard this rule I thought it would look bare. Instead it looked intentional. Each object suddenly mattered. The negative space around them made them feel important rather than lost in a crowd.
Rule 2. Vary the Heights
If everything on your shelf is the same height it looks like a retail display. Mix tall objects like a vase with trailing greenery, medium objects like a framed photo leaning against the wall, and short objects like a small bowl.
The eye needs to travel. When heights vary, the eye moves up and down across the shelf and the arrangement feels dynamic. When everything is the same height, the eye skims across and nothing stands out.
Rule 3. Stack Books Horizontally
A small stack of two or three books laid flat creates an instant pedestal. Pop a small object on top. It adds height variation and makes anything look intentional.
I collect used hardcover books with beautiful spines in colours that match my palette. Remove the dust jackets to reveal the actual cover underneath. Old hardcovers in muted tones are especially beautiful and cost next to nothing at thrift stores.
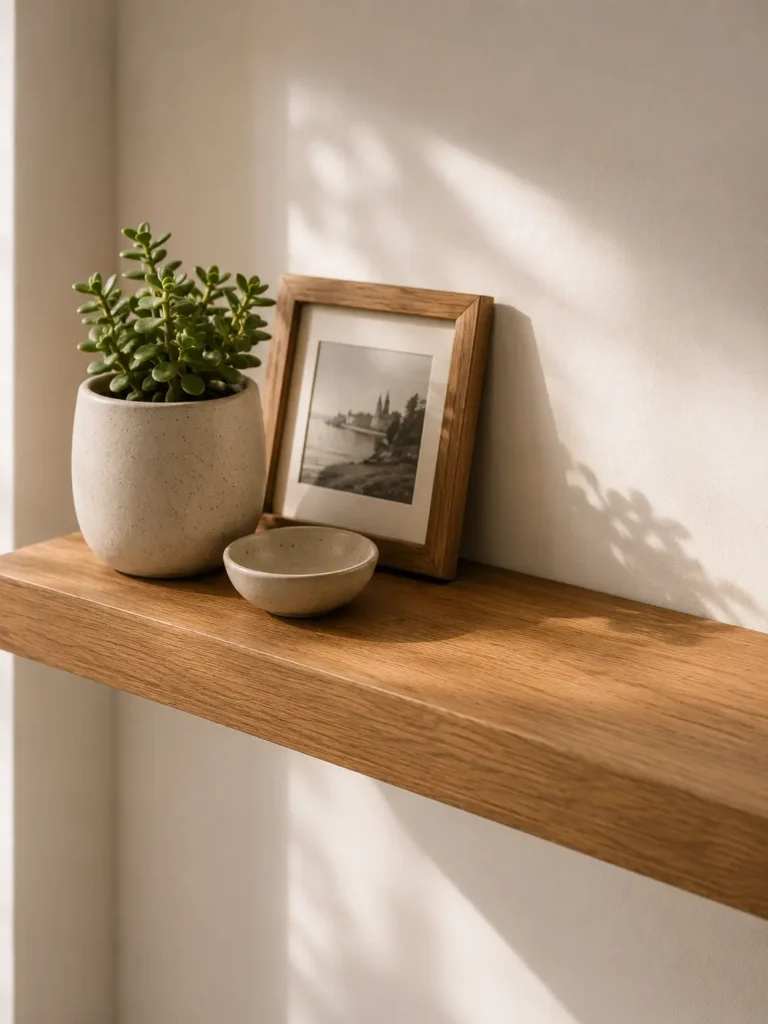
Rule 4. Lean, Do Not Hang
Small framed art looks better leaning casually against the back wall of the shelf than hanging above it. It feels less precious and more personal. Leaning also makes it incredibly easy to swap pieces seasonally without putting new holes in the wall.
I keep a rotating collection of small prints, postcards from travels, and even my niece’s artwork leaning on my shelves. It feels collected over time rather than decorated in one afternoon.
Rule 5. Include Something Living
One small plant or a single stem in a bud vase brings life and softens all the hard edges of books and ceramics. A trailing plant like a pothos or string of pearls that drapes over the edge of the shelf adds movement and softness.
If you struggle to keep plants alive, a high quality faux plant can work beautifully. Just invest in one that looks realistic. A cheap plastic plant will undermine all your careful styling.
Rule 6. Use a Colour Story
Pick two or three colours and stick to them across all objects on your shelves. My shelves are warm wood, cream, and muted green. Everything that does not fit those colours goes somewhere else.
A cohesive colour palette is what separates shelves that look styled from shelves that look like a random collection of objects. Before placing anything on a shelf, I hold it up and ask myself whether it fits the colour story. If the answer is no, it finds a home elsewhere.
Rule 7. Rotate Seasonally
Every few months I swap one or two objects. It keeps the shelves feeling fresh without buying anything new. A different book cover showing. A seasonal branch instead of a flower. A heavier candle for winter, a lighter one for summer.
This seasonal rotation also forces me to edit. When I swap objects, I inevitably find a few things that have crept onto the shelves that do not belong. The rotation becomes a built in decluttering session.
Rule 8. Leave Empty Space on the Shelf Itself
Do not fill the whole length. A cluster of objects on one side with empty shelf on the other looks more intentional than objects evenly spaced. Asymmetry feels natural and relaxed. Perfect symmetry feels staged.
I arrange my objects in a loose grouping on about two thirds of each shelf, leaving the remaining third completely empty. The empty space is not wasted. It is what makes the styled section look important.
Rule 9. Step Back and Edit
After styling, walk to the other side of the room and look. Remove anything that catches your eye in a bad way. It is amazing what reveals itself from a distance. A colour that does not belong. An object that is slightly too tall. A grouping that feels lopsided.
I do this final edit every single time I style shelves. Without fail, I remove at least one thing. Often that single removal is what makes the whole arrangement click.
Shelf Styling for Different Rooms
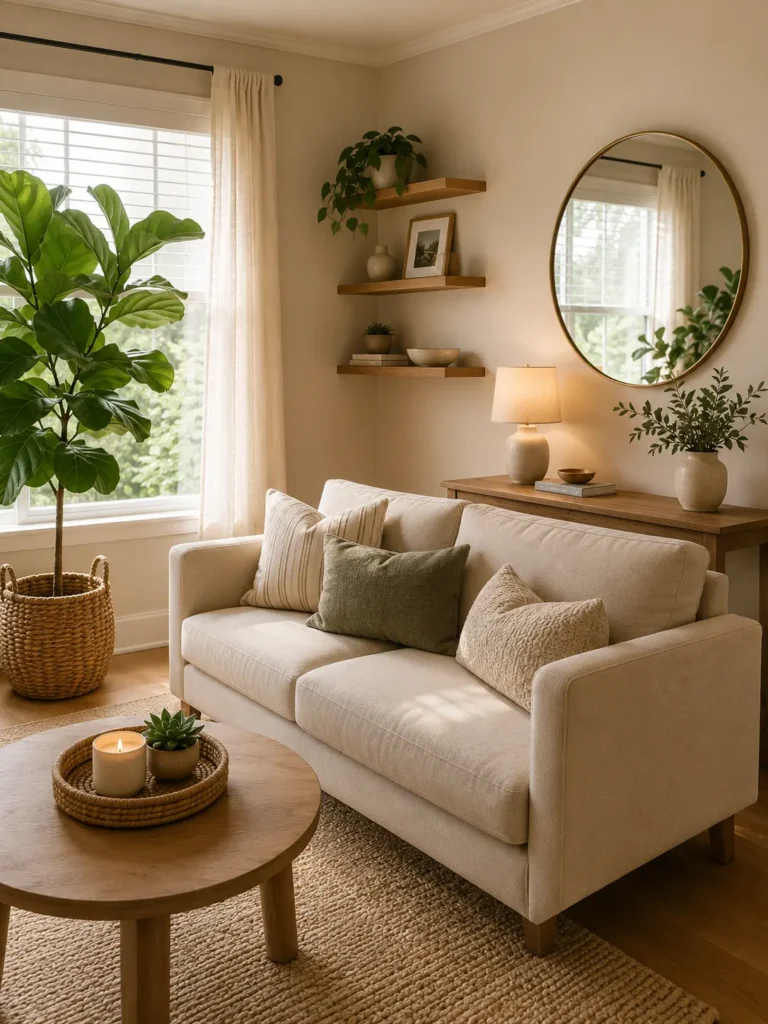
Living Room Shelves
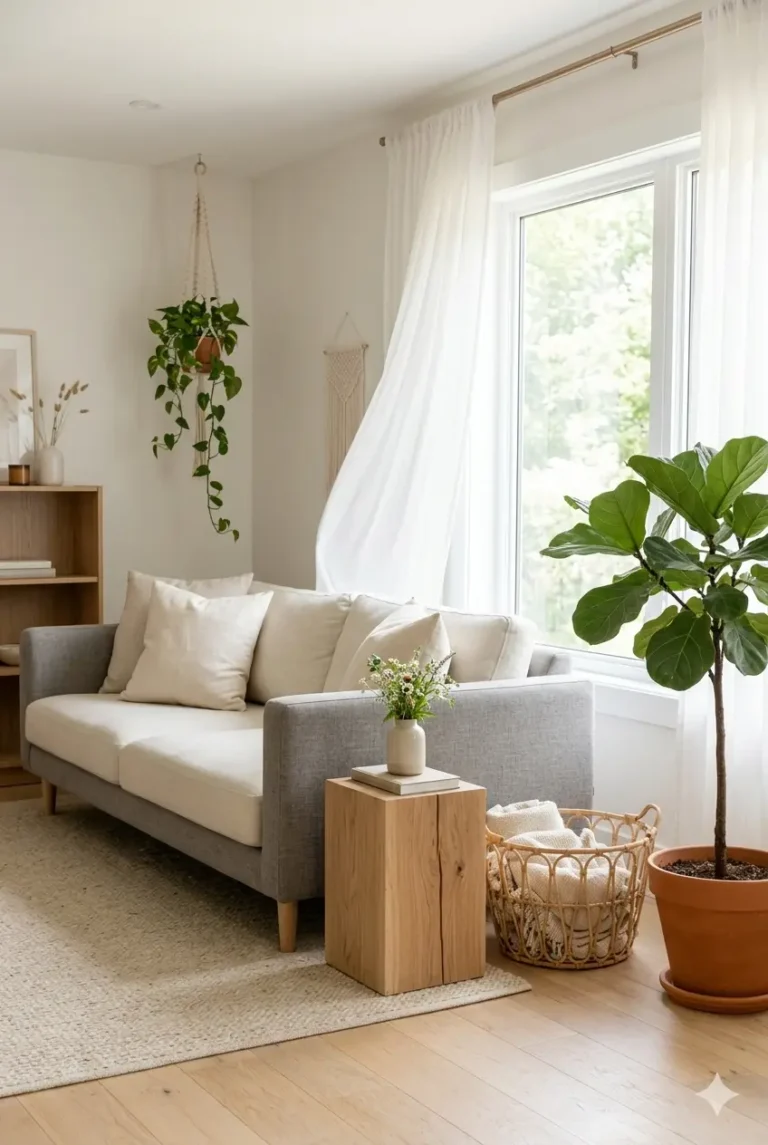
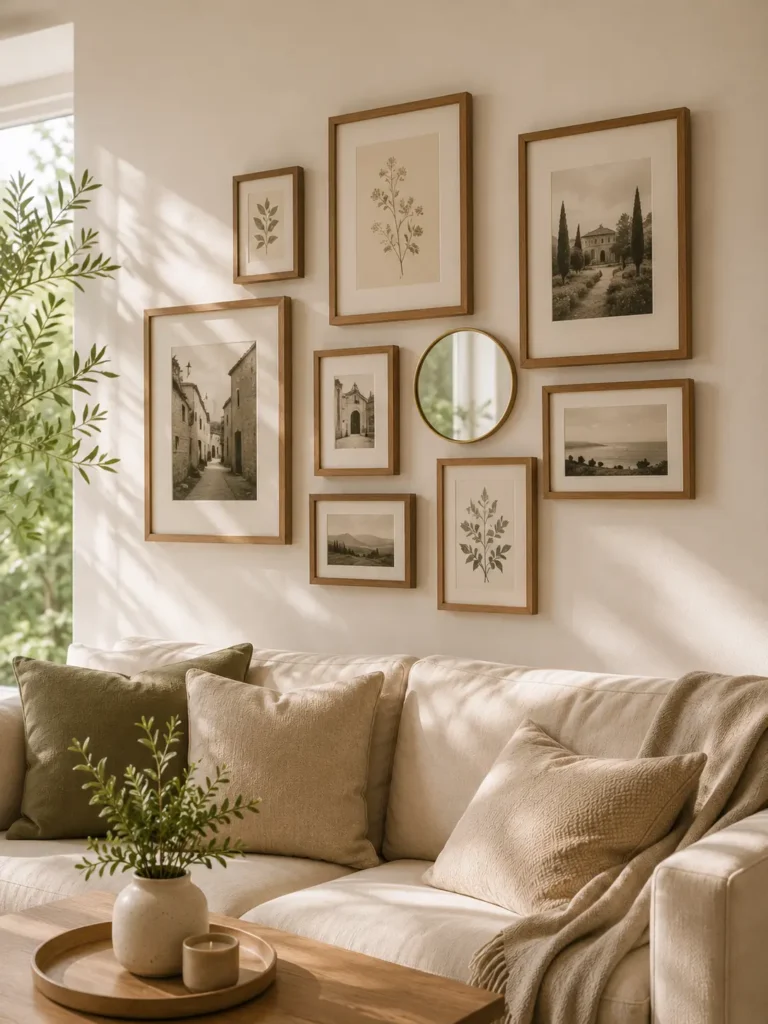
These are your statement shelves. They can handle slightly bolder objects, a piece of art leaning on the top shelf, a sculptural vase, a collection of beautiful books. In my living room, my shelves hold a mix of vintage books, a ceramic vase with dried branches, a small framed print, and a trailing plant. The palette is warm and grounded.
Kitchen Shelves
Kitchen shelves need to balance beauty with function. I use the daily use zone versus display zone rule. Half the shelf holds beautiful everyday items: a row of matching mugs, a stack of white plates, a jar of wooden spoons. The other half holds purely decorative items: a small plant, a cookbook on display, a ceramic vase. The functional side changes daily. The display side stays styled.
Bedroom Shelves
Bedroom shelves should be the calmest in the home. Soft colours, personal objects, nothing too stimulating. A small stack of favourite books, a candle, a single framed photo, a tiny plant. Keep it minimal and serene. The bedroom is for rest, and your shelves should reflect that.
Bathroom Shelves
Bathroom shelves are often overlooked but can add so much warmth to a functional space. Rolled white towels, a small plant that loves humidity like a fern, a glass jar of bath salts, a simple candle. Keep surfaces clean and sparse. A sparse bathroom always looks more luxurious than one overflowing with products.
Styling Shelves in a Rental
I have installed shelves in three different rentals and I know the fear of security deposits all too well. For renters, there are two paths. Command strips for lightweight decorative shelves holding only a few small items work surprisingly well. Keep total weight under five pounds including the shelf and everything on it.
Alternatively, skip wall mounted shelves entirely. A tall narrow freestanding bookshelf positioned a few inches away from the wall gives you all the display space of floating shelves without a single hole. Or use a picture ledge that sits on the floor and leans against the wall. Zero holes, instant shelf styling.
The Quick Win
Take everything off your shelves. Put back only the three to five things you genuinely love. Leave the rest of the shelf empty for a day. See how it feels. Most people are shocked by how much better it looks with less.
What to Read Next
These shelf styling rules work beautifully with the gallery wall ideas in my wall decor guide. And if your shelves are in your living room, my coffee table styling formula uses a very similar approach of grouping objects in odd numbers and letting negative space breathe. For the complete picture on making your whole home feel intentional, my guide to making your home look expensive on a budget covers every surface in every room.
Until next time,
Anna, Home Decor Gems 🤍
One Comment