Gallery Wall Ideas Living Room | Anna’s Step-by-Step Layout Guide
I procrastinated on my gallery wall for two years. I had a stack of frames leaning against the wall in my hallway, waiting for the day I felt brave enough to put holes in the wall. Every time I looked at inspiration on Pinterest, it seemed so complicated. Perfect spacing. Perfect arrangement. Perfect frames.
Then a friend who is an interior stylist taught me her method using kraft paper. I had my entire gallery wall planned, hung, and styled in one afternoon. No extra holes. No crooked frames. No regrets.
Today I am sharing that exact method with you.

Why Gallery Walls Feel Overwhelming
The fear is real. Holes in the wall feel permanent. What if the arrangement looks wrong? What if the spacing is off? What if you hate it in a month? These fears keep most people stuck with bare walls for years.
The kraft paper method I am about to share eliminates every single one of those fears. You will know exactly what your gallery wall looks like before you pick up a hammer. And if you change your mind, you move paper templates instead of patching holes.
My 5 Step Gallery Wall Method
Step 1. Choose Your Theme First
Before you touch a single frame, decide what ties your gallery together. Is it all black and white photos? Botanical prints? A mix of art and personal photos in matching frames?
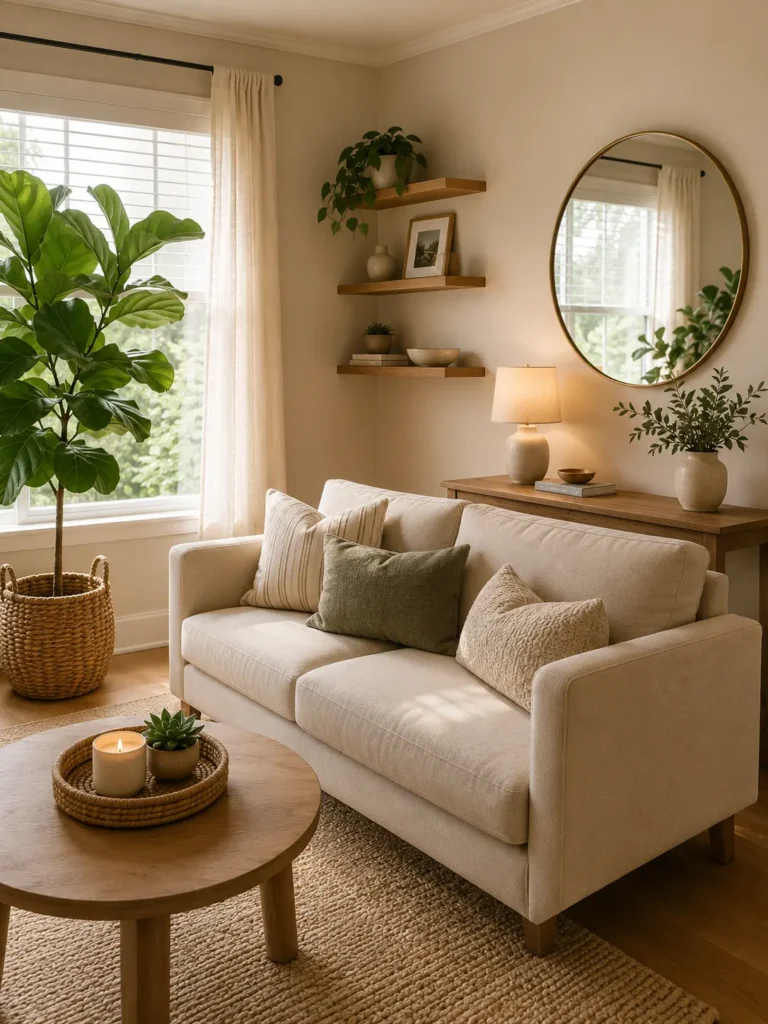
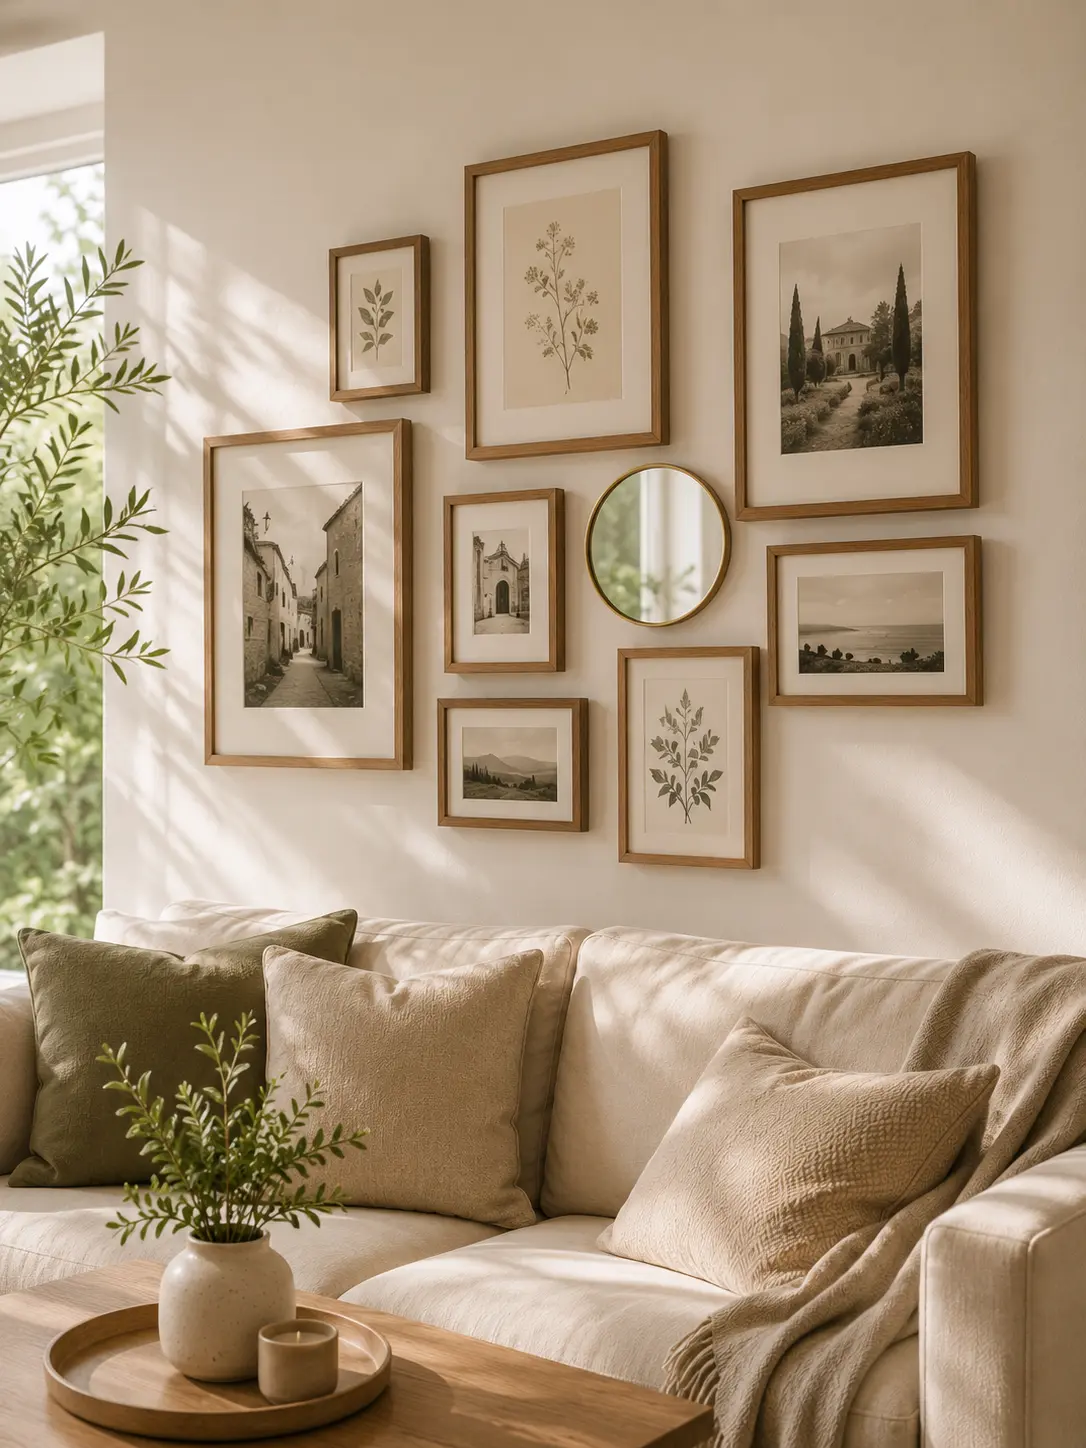
My living room gallery is a mix of vintage botanical prints and black and white family photos, all in simple wooden frames. The theme holds it together even when the content is mixed. Without a theme, a gallery wall becomes a random collection of things on a wall. With a theme, it becomes a story.
Some theme ideas to consider: all black and white photography, vintage oil paintings in gold frames, botanical or nature prints, a mix of abstract art in coordinating colours, travel photos from your favourite trips, or children’s artwork in matching white frames. Pick one that feels like you.
Step 2. Gather More Than You Need
Collect about twenty percent more frames than you think you will use. Having options while arranging on the floor makes the process much easier. You can always return the extras or use them elsewhere.
I keep a box of spare frames in my closet for this exact purpose. When I want to refresh my gallery wall, I shop from that box before buying anything new.
Step 3. Trace Everything on Kraft Paper
This is the game changer. For every frame, trace its outline onto kraft paper. Cut out the shapes. Now you have exact paper templates of your frames. No guessing. No measuring tape drama.
I also mark on each paper template which photo or artwork it represents. This saves confusion later when you have ten identical rectangles and cannot remember which is which.
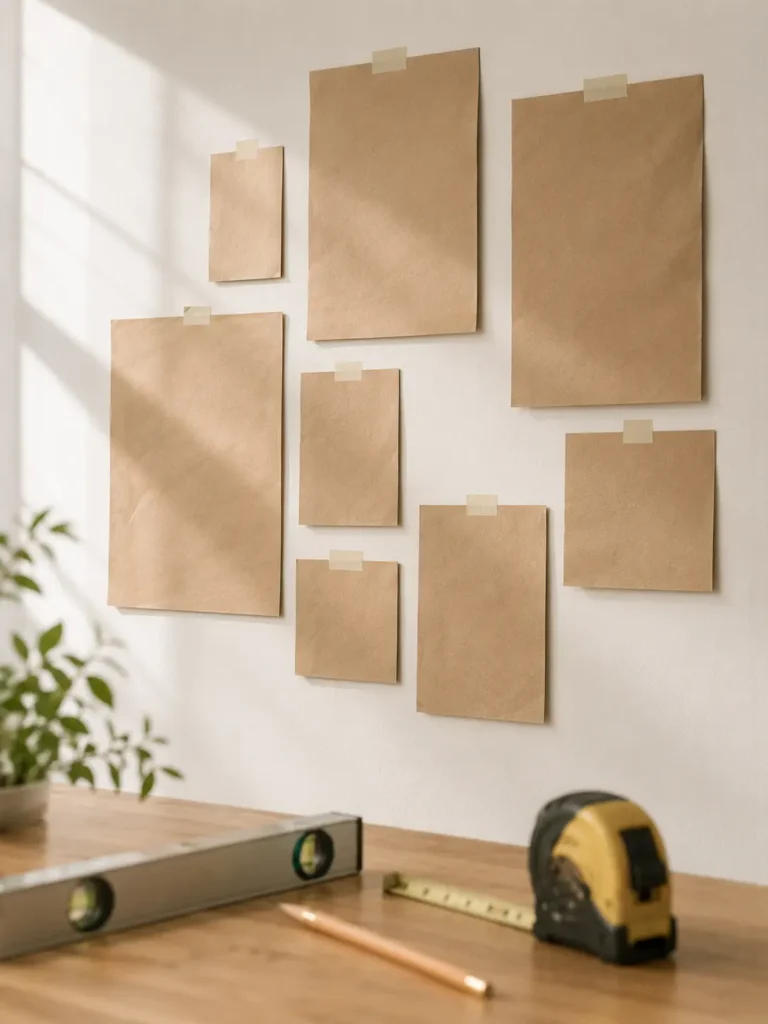
Step 4. Arrange on the Wall with Tape
Use painter’s tape to stick your paper templates to the wall. Move them around as much as you want. Step back. Move again. Sleep on it. This costs nothing and creates zero holes.
I usually leave my paper templates up for at least twenty four hours. I walk past them at different times of day, in different light. If I still love the arrangement the next morning, I know it is the right one.
Once you love the arrangement, measure the spacing between each template so you can replicate it with the real frames. I aim for two to three inches between frames. Closer than two inches feels crowded. Wider than three inches feels disconnected.
Step 5. Hang with Confidence
For each paper template, mark exactly where the nail should go. Hammer through the paper. Tear the paper away. Hang your frame. Perfect placement every single time.
I keep a small level handy during this step. Even though the paper templates were level, it is worth double checking each frame as you hang it. A slightly crooked frame will drive you crazy every time you walk past.
Common Spacing Rules
Two to three inches between frames is the sweet spot. Closer than two inches feels crowded and the individual pieces lose their impact. Wider than three inches feels disconnected and the gallery loses its cohesion.
For a large wall, cluster frames closer together in a group rather than spreading them thinly across the whole space. A tight grouping reads as one large art installation. Frames scattered far apart read as individual pieces that happen to be on the same wall.
Mix Frame Styles Intentionally
Matching frames look clean and modern. Mixed frames look collected and personal. There is no wrong choice, just be intentional about it.
I prefer matching frames for a gallery of all photos because the uniformity lets the images shine. For a gallery of art, I prefer mixed frames because the variety adds character. My current living room gallery uses all simple wooden frames in slightly different wood tones. They feel related but not identical, which is exactly the balance I wanted.
Include Something Unexpected
One non frame element adds personality to a gallery wall. A small woven basket hung flat. A ceramic plate. A small macrame piece. A tiny round mirror.
My gallery has a small round mirror tucked between two frames. It catches light and makes the whole wall feel alive. That single unexpected element is what people comment on most.
Other unexpected additions I have seen and loved: a small wooden letter or initial, a shadow box with a meaningful tiny object inside, a wall mounted candle sconce, or a small textile art piece.
Gallery Walls for Renters
I once spent an entire Saturday creating the perfect gallery wall in my rental apartment. Monday morning brought a notice from my landlord about unauthorized holes. I learned the hard way.
For renters, Command picture hanging strips are worth every penny. They hold up to sixteen pounds per pair and remove clean when it is time to move. I have had a gallery wall of six frames held entirely by these for two years. No damage. No stress. No lost deposit.
Alternatively, create a feature wall with removable wallpaper and lean a single large framed print against it on a console table. Maximum impact, zero holes. Or use a long picture ledge where frames can lean in layers. This creates the layered gallery look without hanging anything directly on the wall.
The Quick Win
If you are feeling overwhelmed, start with three frames. Hang them in a tight triangle arrangement above a console table or sofa. Three is enough to create a gallery feel without the complexity of a full wall. You can always add more later. My first gallery wall was just three frames above my bed. Over two years it grew to nine. Starting small made it feel manageable.
What to Read Next
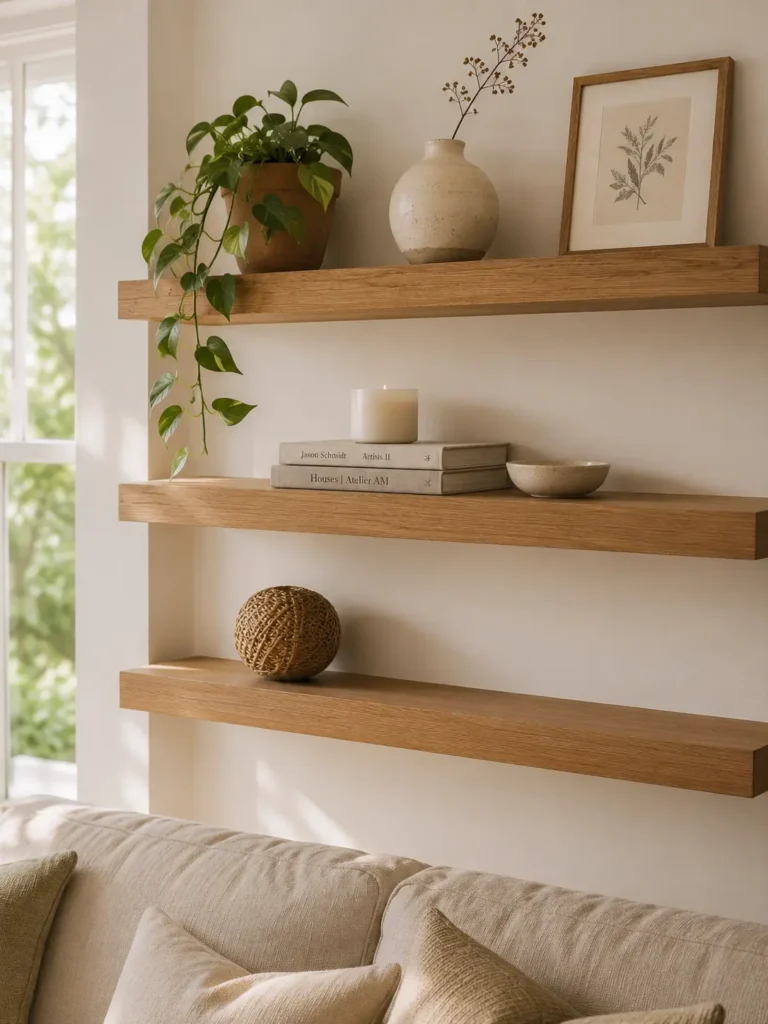
A gallery wall pairs beautifully with styled floating shelves on an adjacent wall. My floating shelf decor guide has nine rules for shelves that look curated rather than cluttered. And if your living room needs an overall refresh, my complete guide to making your home look expensive on a budget has room by room advice that covers every surface including your walls.
Until next time,
Anna, Home Decor Gems 🤍