Floating Shelf Decor for Renters — 3 No-Damage Ideas That Work
I have lost track of how many security deposits I have worried about over floating shelves. The holes. The anchors. The inevitable panic when it is time to move out and you are staring at four gaping holes in the wall wondering if your landlord will notice.
I have installed shelves in three different rentals, and I have made every mistake possible. I have patched holes with toothpaste the night before a final inspection. I have argued with a landlord about what counts as normal wear and tear. I have lost part of a deposit over a shelf I honestly did not even like that much.
But here is what I have also learned. There are renter friendly ways to get the look of floating shelves without the damage. And if you do install real shelves, there are ways to patch them so well nobody will ever know. Today I am sharing the three ideas that have never let me down.
Why Renters Are Told to Avoid Floating Shelves
The advice most renters get is simple. Do not put holes in the walls. Period. End of story. And for many renters, that advice feels like a life sentence to bare, undecorated walls.
The reasoning is valid. Holes in drywall require patching. Patching requires matching paint. Matching paint requires either begging your landlord for the exact shade or repainting the entire wall. One small shelf can spiral into a weekend project and a chunk of your deposit.
But a home without anything on the walls does not feel like a home. It feels temporary. And when you are renting, the last thing you want is to feel like you are just passing through. You want your space to feel like yours, even if you do not own it.
3 Renter Friendly Floating Shelf Ideas
Idea 1. Use Heavy Duty Command Strips for Lightweight Shelves
For lightweight decorative shelves holding only a few small items, heavy duty Command strips can hold surprisingly well. The key is weight. Keep the total load under five pounds including the shelf itself and everything on it.
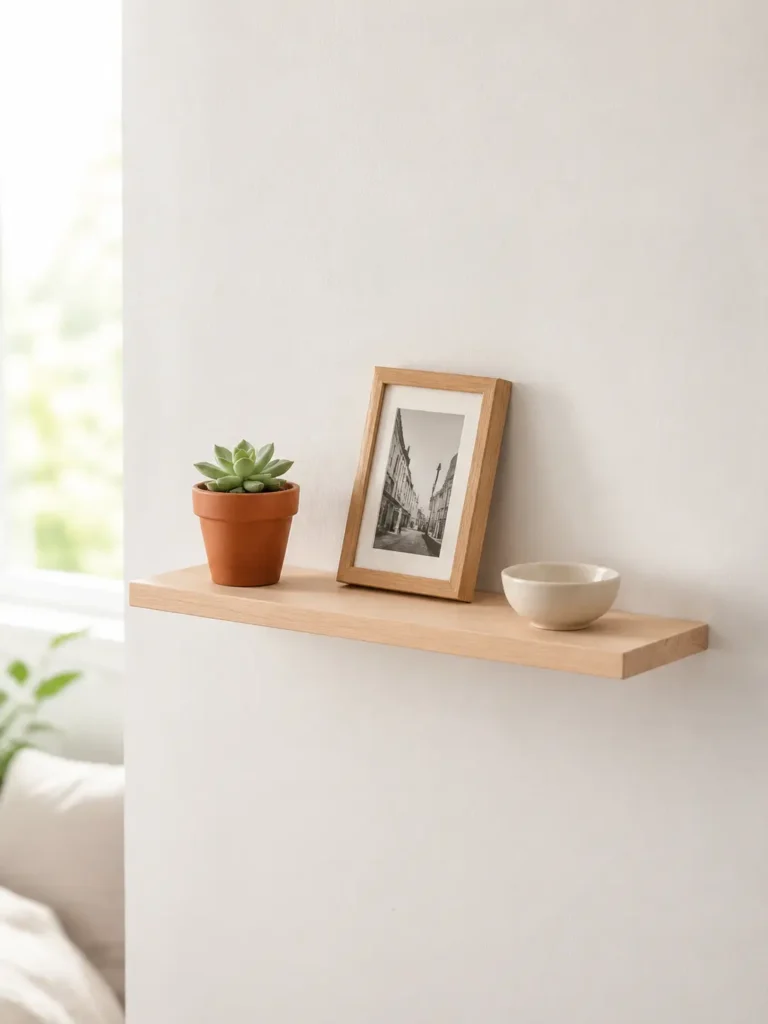
I have a tiny shelf above my desk held up entirely by Command strips. It is about eighteen inches long and four inches deep. On it sits a small framed photo, a tiny succulent, and a mini ceramic vase. Combined weight is maybe three pounds. Two years later, it has not budged.
The trick is following the instructions exactly. Clean the wall with rubbing alcohol first. Press the strips firmly for thirty seconds. Wait at least one hour before putting anything on the shelf. Rushing this process is why most Command strip failures happen.
When it is time to move, pull the tab straight down slowly. Do not pull outward. The strip releases clean and the wall is untouched. I have done this three times now and never left a mark.
Idea 2. Use a Leaning Picture Ledge Instead of Wall Mounted Shelves
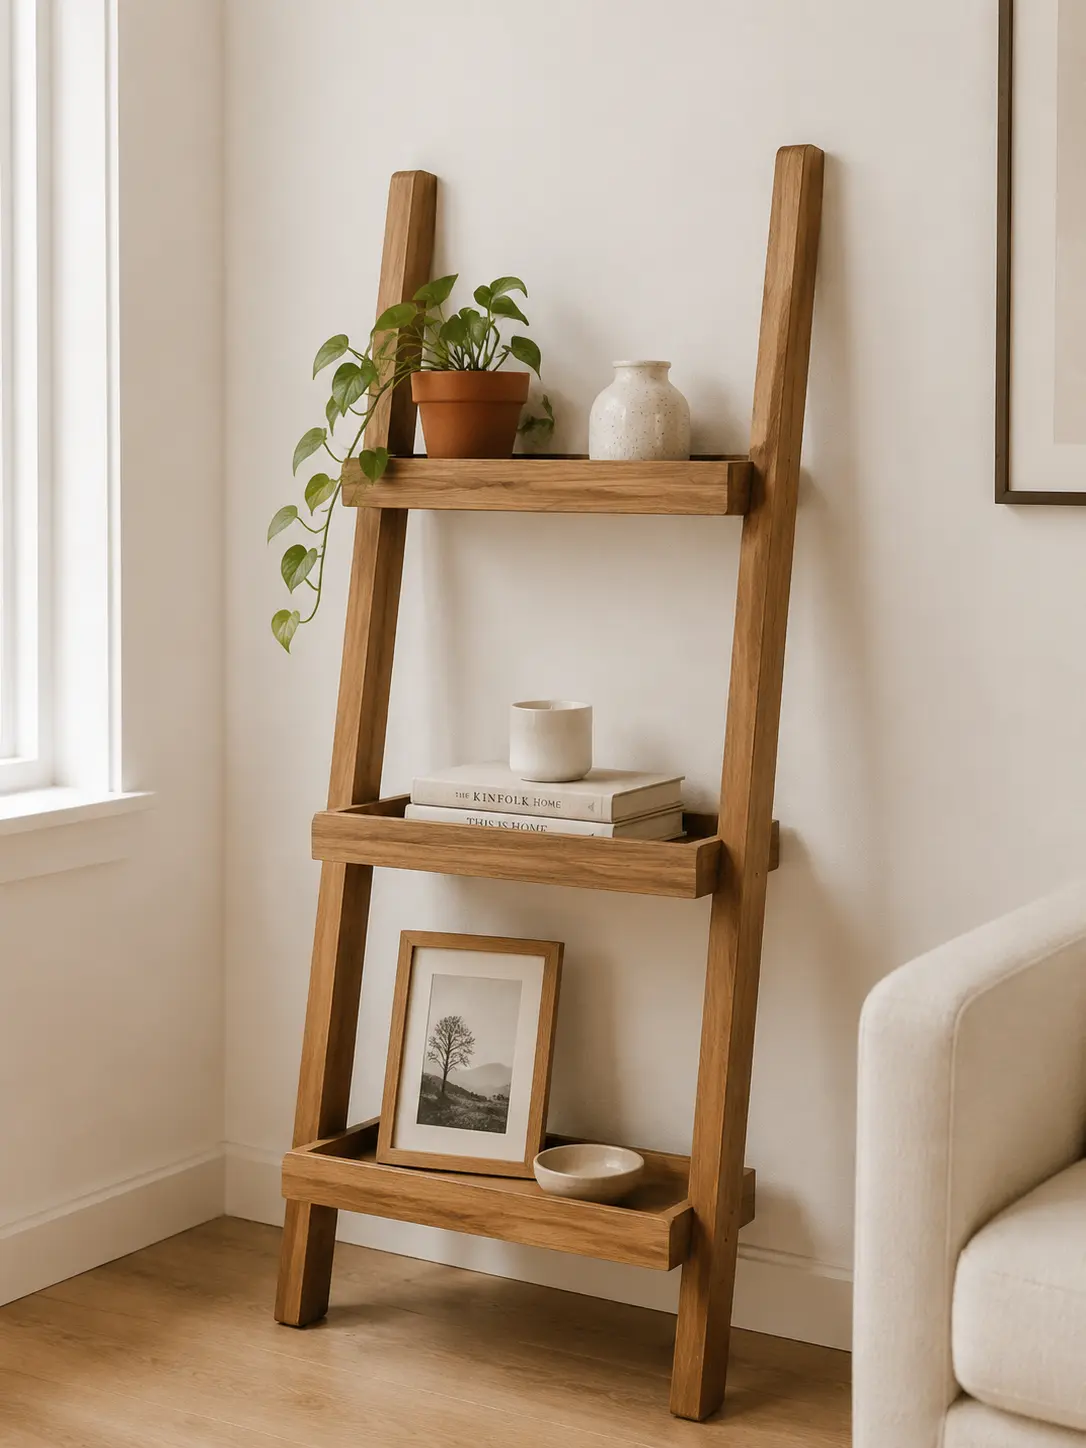
A narrow picture ledge that sits on the floor and leans against the wall creates the same display surface as a floating shelf with zero holes. I used one in my last apartment and genuinely loved it more than any mounted shelf I have ever had.
The ledge I used was about four feet tall and twelve inches deep, with three built in shelves. It leaned at a slight angle against the wall, and I secured the top with a small adhesive strip just for stability. No drilling. No anchors. No anxiety.
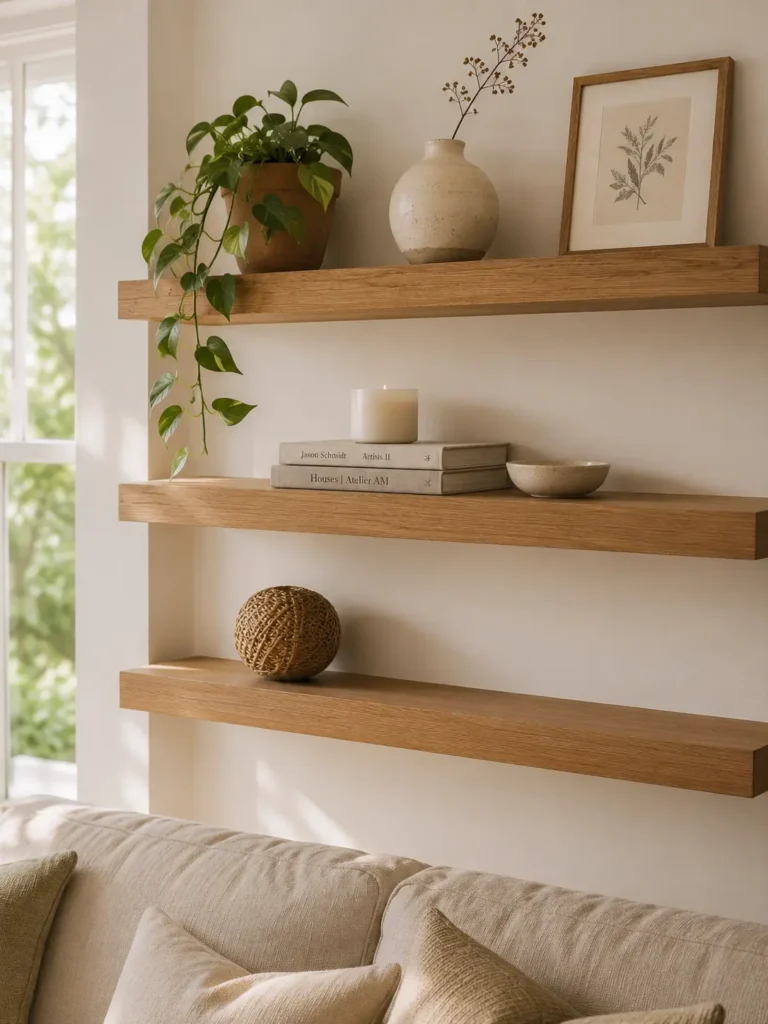
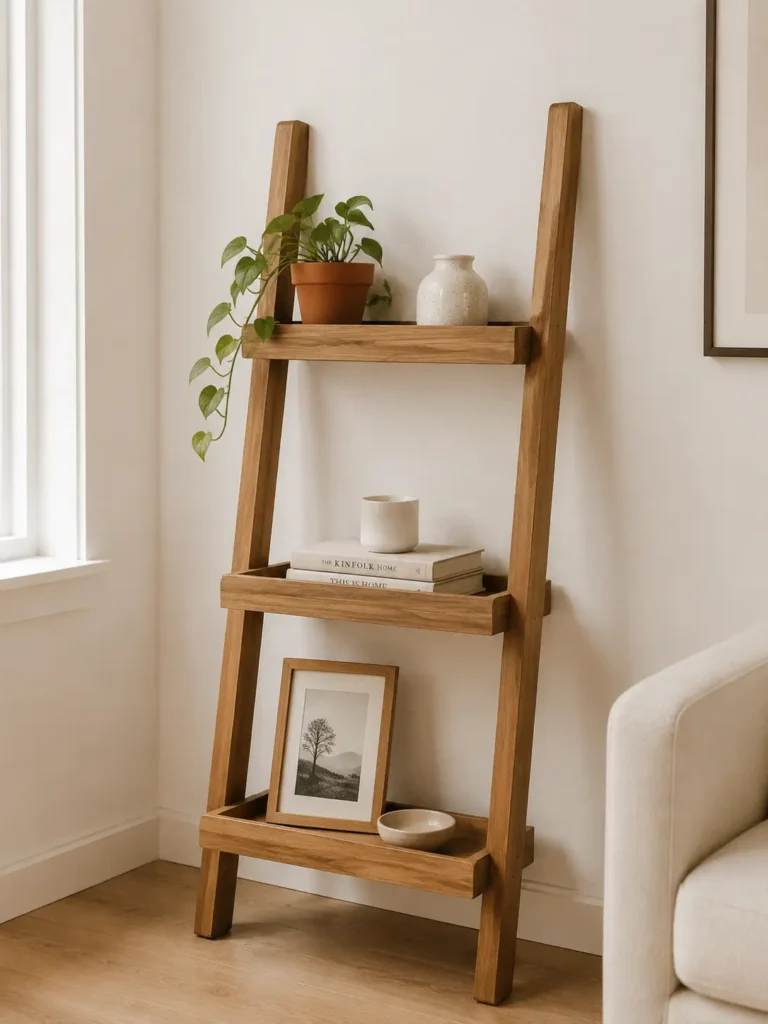
I styled the three shelves exactly as I would floating shelves. A trailing plant on the top ledge, a small stack of books with a candle on the middle, a ceramic bowl and a framed photo on the bottom. It looked intentional and collected, not like a compromise.
The best part? When I moved, I picked it up and took it with me. It is now in my third apartment and still going strong. A leaning ledge is not a temporary solution. It is a permanent piece of furniture that happens to be renter friendly.
Idea 3. Use Tension Rod Shelves for a Completely Damage Free Option
Tension rod shelving units use pressure to stay in place between the floor and ceiling. No screws. No adhesive. No damage of any kind. They are typically used in bathrooms and kitchens, but a sleek, minimal version works beautifully in living rooms and bedrooms too.
I have a tension rod shelf unit in my bathroom holding rolled towels, a small plant, and a candle. It looks like a built in and has survived two apartments and a curious cat who likes to climb things.
For living spaces, look for tension rod shelves with a wood finish or a clean white powder coat. The industrial metal versions look too utility and will not give you the warm, styled look you are after. Style them lightly. Two to three objects per shelf maximum. The unit itself is visually light, so overloading it defeats the purpose.
What If You Absolutely Must Drill?
Sometimes the only solution is real shelves mounted with real hardware. If you absolutely must drill, do it properly and be prepared to fix it.
Before you drill anything, email your landlord. Ask for permission in writing. Some landlords will say yes if you agree to patch and paint when you leave. Some will even offer to have their maintenance person do it for you. You will not know until you ask.
When you patch, do it properly. Spackle, sand, paint. Not toothpaste. Not white soap. Real spackle costs four dollars and takes twenty minutes to dry. Sand it smooth with fine grit sandpaper. Ask your landlord for the wall paint colour. Most will happily give you the name or even a small sample pot. A proper patch with matching paint is invisible. I have passed multiple final inspections this way.
The Quick Win
Buy a small picture ledge. Lean it against the wall on top of a dresser or console table. Style it with three small objects. Zero holes. Zero damage. Instant floating shelf look that you can take with you when you move.
What to Read Next
If you want more shelf styling ideas, my complete guide to floating shelf decor has nine rules for shelves that look curated rather than cluttered. And if your whole apartment needs renter friendly solutions, my small living room ideas for apartments guide has eleven ideas that work in any rental.
Until next time,
Anna, Home Decor Gems 🤍